 Petnow
Fragment 방식 (레거시)
기존 PetnowCameraFragment 호스팅 방식과 1.4.0 마이그레이션 가이드.
레거시 방식
PetnowCameraFragment는 기존(레거시) 호스팅 방식입니다. 신규 통합은 CameraView + CameraController를 권장합니다. 이 문서는 이미 Fragment 방식을 사용 중인 프로젝트의 유지보수와 1.4.0 마이그레이션을 위해 제공됩니다.
1.4.0 변경 사항 (마이그레이션)
1.4.0에서 전역 진입점(v1.3.x의 PetnowApiClient)이 더 이상 배포되지 않습니다. 라이선스와 탐지 설정은 이제 Fragment arguments로 직접 전달합니다.
| 이전 (1.3.x 이하) | 1.4.0 |
|---|---|
PetnowApiClient.init(key, isDebugMode) (Application) | Fragment args ARG_API_KEY (또는 provideLicense() 오버라이드) |
PetnowApiClient.configureDetectionMode(...) | Fragment args ARG_DETECTION_CONFIGURATION (Serializable) |
PetnowApiClient.isSuccessInitialize | 제거 — 실패는 PetnowUIError로 드러남됨 |
import io.petnow.ui.PetnowCameraDetectionListener | import io.petnow.callback.PetnowCameraDetectionListener |
PetnowCameraFragment는 V1 리스너(PetnowCameraDetectionListener — PetnowDetectionStatus / DetectionCaptureResult)를 사용합니다. CameraController 방식의 V2 리스너(DetectionStatus / CameraResult)와 타입이 다릅니다.
Step 1: 카메라 Fragment 생성
PetnowCameraFragment를 상속하고, onCreate()에서 super.onCreate() 호출 전에 라이선스·설정·세션 ID를 arguments로 설정합니다.
import android.os.Bundle
import android.content.Context
import io.petnow.ui.PetnowCameraFragment
import io.petnow.ui.config.DetectionConfiguration
import io.petnow.ui.config.DetectionPurpose
import io.petnow.ui.config.PetSpecies
import io.petnow.callback.PetnowCameraDetectionListener
import io.petnow.ui.DetectionCaptureResult
import io.petnow.ui.status.PetnowDetectionStatus
import java.util.UUID

class ClientCameraFragment : PetnowCameraFragment(), PetnowCameraDetectionListener {

    companion object {
        fun newInstance(captureSessionId: UUID) = ClientCameraFragment().apply {
            arguments = Bundle().apply {
                putString(ARG_CAPTURE_SESSION_ID, captureSessionId.toString())
            }
        }
    }

    override fun onCreate(savedInstanceState: Bundle?) {
        // super.onCreate() 전에 라이선스·탐지 설정을 args로 주입합니다.
        arguments = Bundle(arguments ?: Bundle()).apply {
            putString(ARG_API_KEY, "YOUR_API_KEY")           // 라이선스
            putSerializable(                                 // 탐지 설정
                ARG_DETECTION_CONFIGURATION,
                DetectionConfiguration(
                    species = PetSpecies.DOG,
                    purpose = DetectionPurpose.PET_PROFILE_REGISTRATION,
                    enableFakeDetection = true,
                ),
            )
        }
        super.onCreate(savedInstanceState)
    }

    override fun provideCustomOverlayLayout(): Int? = null

    override fun onAttach(context: Context) {
        super.onAttach(context)
        setPetnowCameraDetectionListener(this)
        // 1.4에서 deprecated — setPetnowCameraDetectionListenerV2 권장 (iOS와 동일한 결과 모델)
    }

    override fun onDetectionStatus(primaryDetectionStatus: PetnowDetectionStatus) { /* Step 4 */ }
    override fun onDetectionProgress(progress: Int) { /* Step 4 */ }
    override fun onDetectionFinished(result: DetectionCaptureResult) { /* Step 3 */ }
}
라이선스는 arguments(ARG_API_KEY) 대신 provideLicense() 오버라이드로 제공할 수도 있습니다.
override fun provideLicense(): LicenseInfo =
    LicenseInfo(apiKey = "YOUR_API_KEY")
Argument 키
| 키 | 타입 | 설명 |
|---|---|---|
ARG_CAPTURE_SESSION_ID | String | 서버에서 발급받은 캡처 세션 ID(UUID 문자열) |
ARG_API_KEY | String | 라이선스 API 키 |
ARG_DETECTION_CONFIGURATION | Serializable | DetectionConfiguration |
Step 2: 카메라 화면 표시
val captureSessionId: UUID = // 서버로부터 받은 captureSessionId

val fragment = ClientCameraFragment.newInstance(captureSessionId)
supportFragmentManager.beginTransaction()
    .replace(R.id.fragment_container, fragment)
    .commit()
Fragment가 attach되면 내부적으로 카메라 권한을 요청하고, 카메라를 초기화한 뒤 탐지를 시작합니다. (CameraView 방식과 달리 Fragment는 권한을 자동으로 요청합니다.)
Step 3: 촬영 결과 처리
override fun onDetectionFinished(result: DetectionCaptureResult) {
    when (result) {
        is DetectionCaptureResult.Success -> {
            // result.noseImageFiles: 코무늬 이미지, result.faceImageFiles: 얼굴 이미지
            uploadImages(result.noseImageFiles, result.faceImageFiles)
        }
        is DetectionCaptureResult.Fail -> {
            showRetryOrExitDialog()
        }
    }
}
DetectionCaptureResult 타입
sealed class DetectionCaptureResult {
    data class Success(
        val noseImageFiles: List<File>,
        val faceImageFiles: List<File>
    ) : DetectionCaptureResult()

    data object Fail : DetectionCaptureResult()
}
실패 시 서버 세션 관리
Fail을 수신해도 서버의 캡처 세션은 아직 열린 상태입니다. 재시도(startDetection())하거나 화면을 닫으세요. 닫으면 서버가 약 5분 후 자동으로 세션을 종료(ABORTED) 처리합니다.
Step 4: 진행률·상태 관찰
override fun onDetectionProgress(progress: Int) {
    progressBar.progress = progress // 0~100
}

override fun onDetectionStatus(primaryDetectionStatus: PetnowDetectionStatus) {
    statusTextView.text = when (primaryDetectionStatus) {
        PetnowDetectionStatus.Detected -> "탐지 성공"
        PetnowDetectionStatus.NoObject -> "반려동물을 프레임에 맞춰주세요"
        PetnowDetectionStatus.TooClose -> "조금 멀리 떨어져주세요"
        PetnowDetectionStatus.TooFarAway -> "조금 가까이 다가가주세요"
        PetnowDetectionStatus.TooDark -> "밝은 곳으로 이동해주세요"
        else -> ""
    }
}탐지 제어
startDetection()  // 진행률 0으로 리셋하고 새 세션 시작 (재촬영). Result 반환
pauseDetection()         // 탐지 일시정지 (반환값 없음)
resumeDetection()        // 일시정지 시점부터 재개 (반환값 없음)
switchCamera() // 전/후면 전환 (Result 반환)PetnowCameraFragment에서 resumeDetection()은 반환값이 없습니다(void). 재촬영(진행률 리셋)은 startDetection()을 사용하고, 반환된 Result로 성공/실패를 처리하세요.
// 예: 촬영 실패 후 재시도
startDetection()
    .onSuccess { /* 재시작됨 */ }
    .onFailure { e -> navigateBack() }
권한 처리
Fragment는 카메라 권한을 자동으로 요청하지만, AndroidManifest.xml에 권한 선언은 필요합니다.
<uses-permission android:name="android.permission.CAMERA" />UI 커스터마이징
PetnowCameraFragment는 기본 트래킹 UI 위에 커스텀 오버레이와 플로팅 가이드를 주입할 수 있습니다.
커스텀 오버레이 추가
XML 레이아웃을 만들어 provideCustomOverlayLayout()으로 주입하고, inflate가 끝나면 onAddedCustomLayout(view)에서 뷰를 조작합니다.
class ClientCameraFragment : PetnowCameraFragment(), PetnowCameraDetectionListener {
    private var _binding: FragmentClientCameraBinding? = null
    private val binding get() = _binding!!

    override fun provideCustomOverlayLayout(): Int = R.layout.fragment_client_camera

    override fun onAddedCustomLayout(view: View) {
        super.onAddedCustomLayout(view)
        _binding = FragmentClientCameraBinding.bind(view) // inflate된 view를 여기서 바인딩
        binding.statusText.text = "Camera is ready"
    }

    override fun onDestroyView() {
        super.onDestroyView()
        _binding = null
    }

    override fun onDetectionProgress(progress: Int) {
        binding.detectionProgress.progress = progress
    }

    override fun onDetectionStatus(primaryDetectionStatus: PetnowDetectionStatus) {
        binding.statusText.text = when (primaryDetectionStatus) {
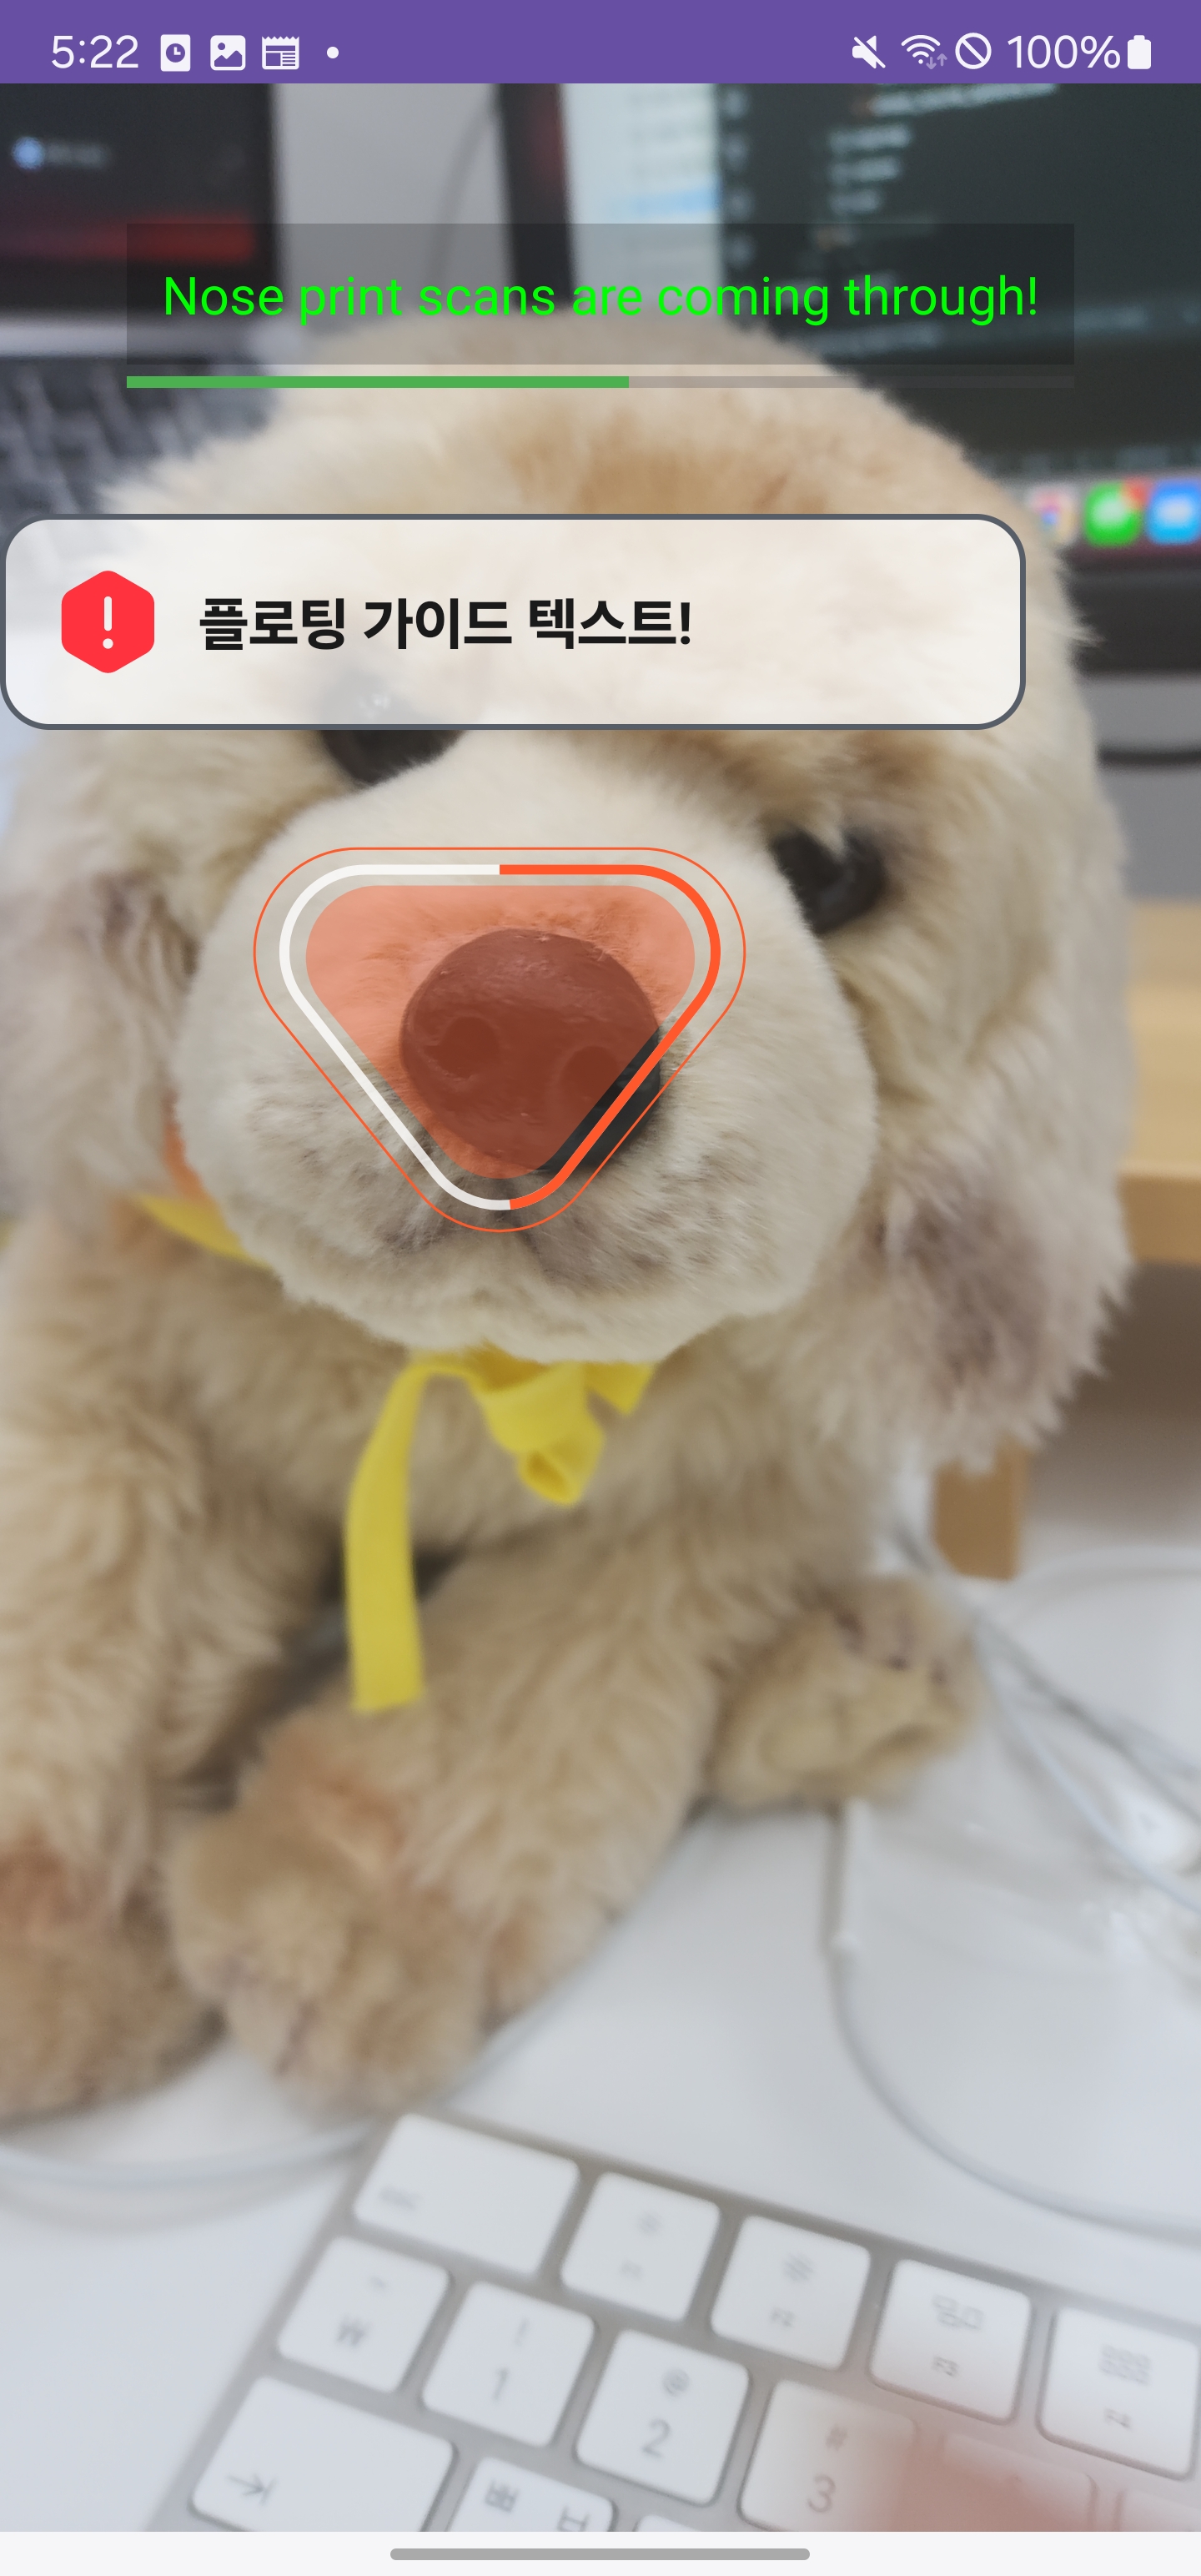
            PetnowDetectionStatus.Detected -> "Nose print scans are coming through!"
            PetnowDetectionStatus.TooClose -> "It's too close! Move back a bit."
            PetnowDetectionStatus.TooFarAway -> "It's too far! Move closer."
            PetnowDetectionStatus.TooDark -> "It's too dark! Try in a brighter place."
            else -> "Align your pet's face in the frame"
        }
    }
}| 메서드 | 설명 |
|---|---|
provideCustomOverlayLayout(): Int? | 커스텀 오버레이 레이아웃 리소스 ID(없으면 null) |
onAddedCustomLayout(view) | 오버레이 inflate 완료 후 호출 — 여기서 뷰 바인딩/조작 |
트래커 위 플로팅 가이드
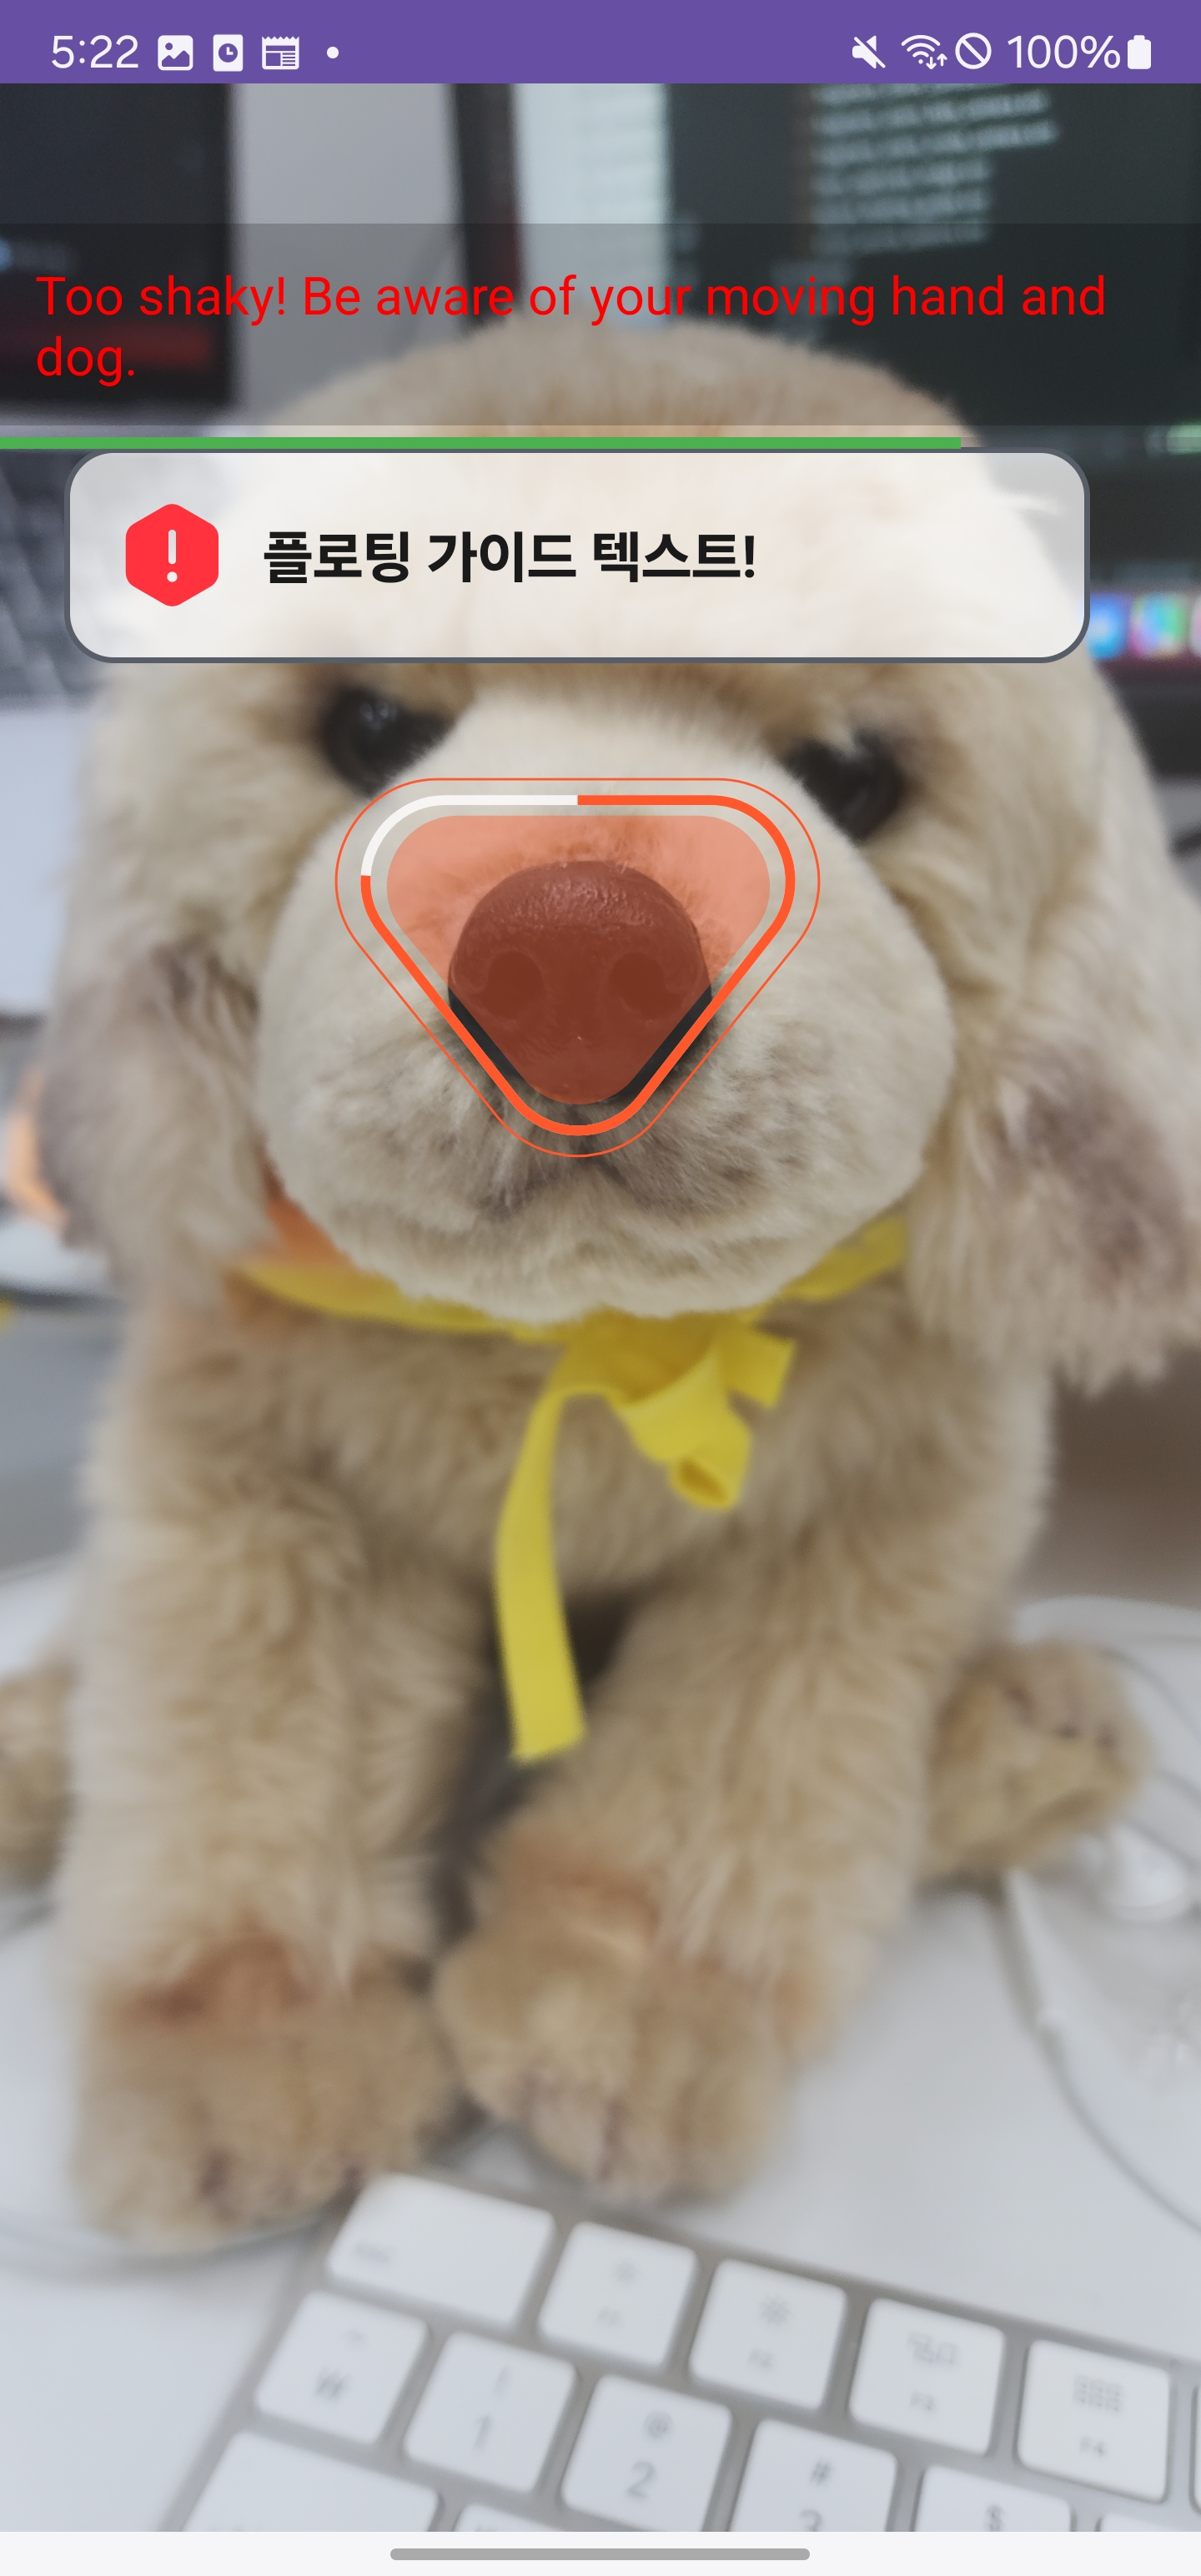
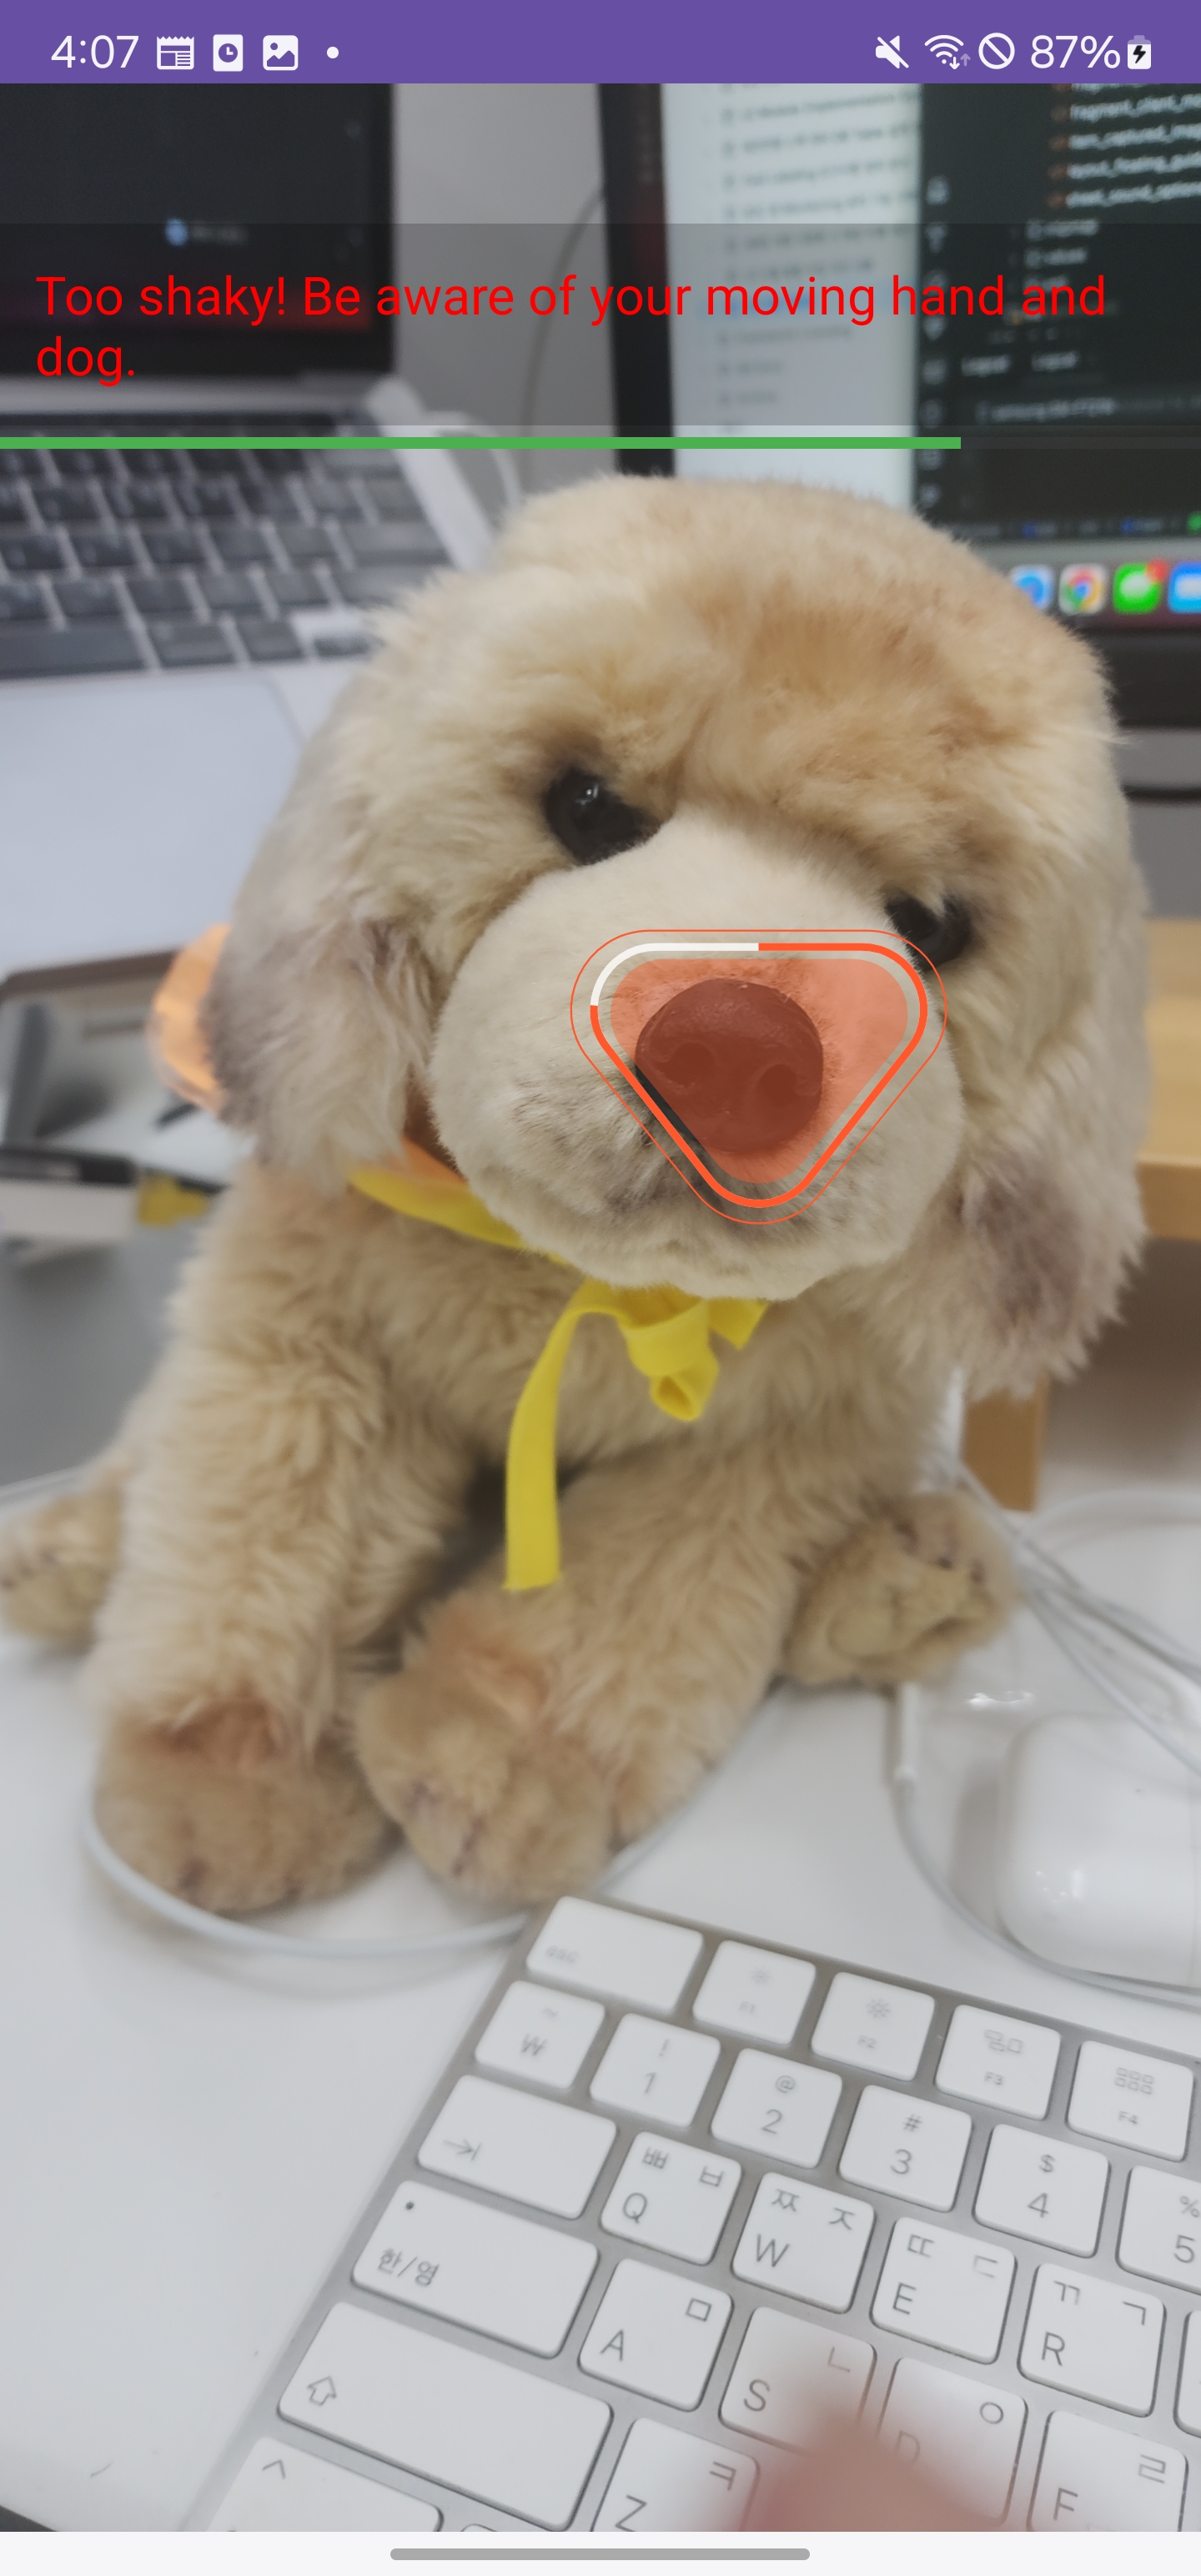
트래킹 UI를 따라 움직이는 플로팅 가이드를 주입합니다. 좌표·렌더링은 모듈이 자동 처리하며, 앱은 어떤 뷰를 그릴지만 명시합니다. (선택)
class ClientCameraFragment : PetnowCameraFragment(), PetnowCameraDetectionListener {
    private var _floatingBinding: LayoutFloatingGuideBinding? = null

    override fun provideFloatingGuideLayout(): Int = R.layout.layout_floating_guide

    override fun onFloatingGuideAdded(view: View) {
        _floatingBinding = LayoutFloatingGuideBinding.bind(view)
        _floatingBinding?.layoutCameraGuideFloating?.isVisible = false // inflate 즉시 노출되므로 숨김
        _floatingBinding?.textCameraGuideFloatingMessage?.text = "플로팅 가이드 텍스트!"
    }

    override fun onDetectionProgress(progress: Int) {
        if (progress > 0) {
            _floatingBinding?.layoutCameraGuideFloating?.isVisible = true
        }
    }
}| 메서드 | 설명 |
|---|---|
provideFloatingGuideLayout(): Int? | 플로팅 가이드 레이아웃 리소스 ID(없으면 null) |
onFloatingGuideAdded(view) | 플로팅 가이드 inflate 완료 후 호출 |